
How to Make AI Videos Look More Cinematic
Cinematic is not a filter you apply at the end. It comes from shot choice, lighting, camera movement, color consistency, pacing, and sound. Here is how to build those decisions into your AI video from the first prompt.
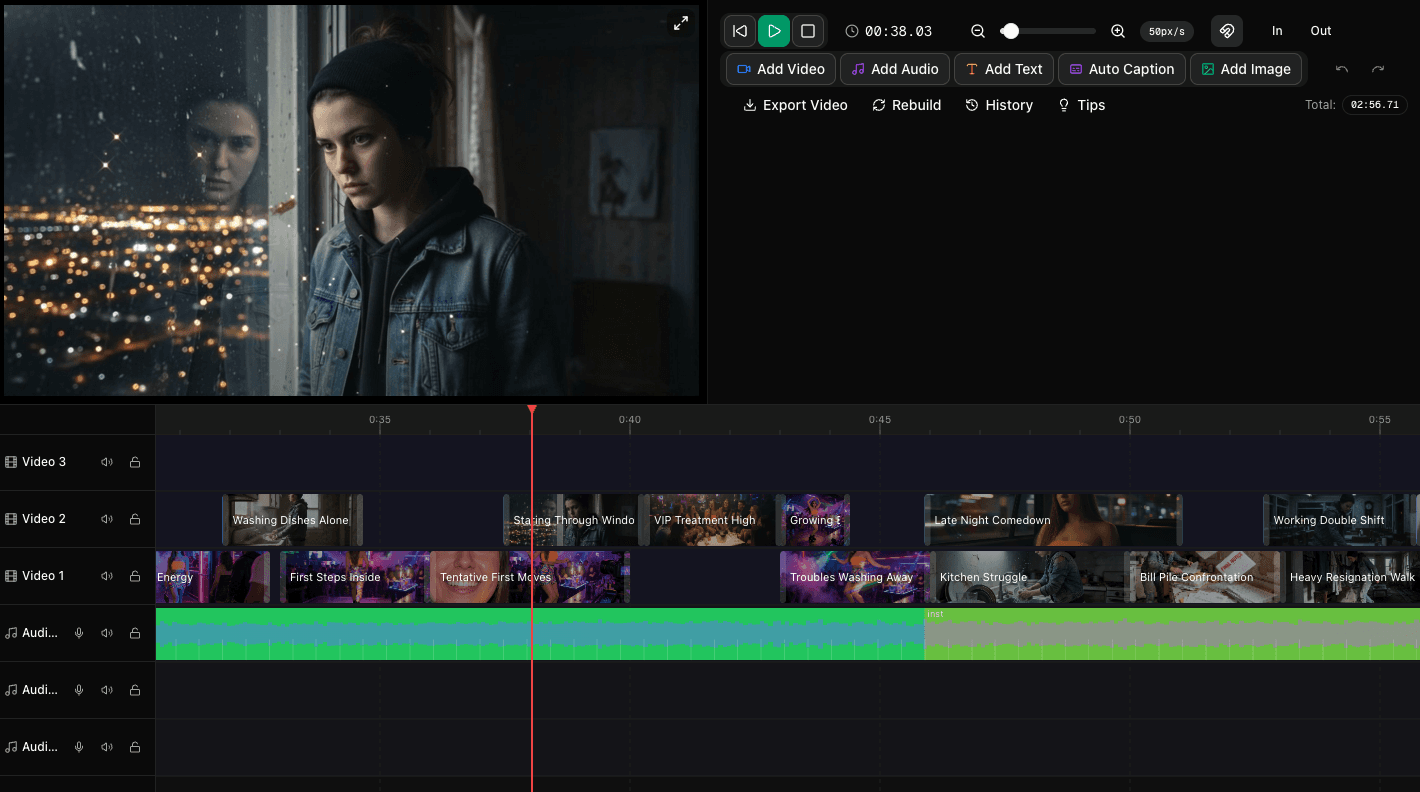
Cinematic is a set of decisions, not a filter
Most people try to make an AI video look cinematic at the very end. They finish the edit, decide it feels flat, and reach for a color grade or a slow-motion effect hoping it will add polish.
It rarely works, because cinematic quality is built earlier than that. It comes from the choices you make about what the camera sees, how it moves, where the light comes from, how long each shot lives on screen, and what the audience hears while they watch.
The good news: every one of those is something you can control when you generate an AI video. You just have to ask for it on purpose instead of hoping the model guesses right.
The short version: describe the shot, not the vibe. "Cinematic" is a result. "Low angle, 35mm, backlit by a window, slow push in" is an instruction.
1. Describe the shot, not the mood
The single biggest jump in quality comes from writing prompts the way a director talks to a camera operator. Vague adjectives produce generic footage. Specific camera language produces images that look like they were framed by someone.
Compare these two prompts for the same moment:
- Weak: "A cinematic shot of a woman in a coffee shop, beautiful, 4K, professional"
- Strong: "Medium close-up, 50mm, woman at a window seat in a coffee shop, warm afternoon light from camera left, shallow depth of field, steam rising from her cup, slow push in"
The second one tells the model four separate things: how close the camera is, what lens character to imitate, where the light is coming from, and how the camera moves. Those are the ingredients of a real shot.
The four things worth naming in every prompt
- Shot size: extreme wide, wide, medium, medium close-up, close-up, extreme close-up
- Angle: eye level, low angle, high angle, over the shoulder, profile
- Light: direction, quality, and time of day. Backlit, side lit, overcast, golden hour, single practical lamp
- Movement: static, slow push in, slow pull out, handheld drift, pan, tracking alongside
You do not need all four in every shot. But if you name none of them, you are letting the model pick, and the model tends to pick the safest, most generic version of the frame.
2. Light is the fastest upgrade you can make
Amateur footage is usually evenly lit. Cinematic footage almost never is. Contrast, direction, and shadow are what make an image feel intentional.
Three lighting instructions that reliably improve a generated shot:
- Name a source. "Lit by a single desk lamp," "light spilling from a doorway," "neon sign reflecting off wet pavement." A motivated source gives the model something to build shadows around.
- Name a time. Golden hour, blue hour, harsh midday, overcast, late night interior. Time of day carries an entire color palette with it.
- Name a direction. Backlit, rim lit, side lit, top down. Backlighting in particular separates the subject from the background and instantly reads as more expensive.
If a scene looks flat and you cannot figure out why, the answer is almost always that the light has no direction.
3. Move the camera on purpose, or not at all
There is a temptation to add motion to every clip because motion feels dynamic. In practice, constant drifting movement is one of the clearest signals that a video was generated rather than shot.
Use movement to do a job:
- Slow push in when you want the audience to lean into a moment or a realization
- Slow pull out when you want to reveal context or end a section
- Tracking alongside when the subject is moving and you want energy
- Locked off and static when the composition itself is the point, or when you need a beat of calm between two busy shots
A sequence where every shot moves feels restless. A sequence where movement is rationed feels directed. Mixing static and moving shots also gives your edit somewhere to breathe.
4. Keep one visual world across the whole video
Nothing breaks the illusion faster than scene three looking like it came from a different production than scene four. Consistency is what makes a set of separate generations read as one piece.
Practical ways to hold the look together:
- Lock a palette in words. Pick two or three colors and repeat them in every scene prompt. "Teal shadows and warm amber highlights" carried across ten shots does more than any post-production grade.
- Reuse character references. If a person appears more than once, use a character reference so their face, hair, and wardrobe survive the cut. Character drift is the most common continuity failure in AI video, and it is completely avoidable.
- Repeat the environment language. If the film lives in one location, describe that location the same way each time rather than reinventing it per scene.
- Hold one film stock idea. Grainy 16mm, clean digital, soft vintage. Pick one and stay in it.
If you work on brand content, this is where a saved brand kit pays for itself: the palette, type, and style direction stay identical across every project instead of drifting each time you start something new.
5. Pacing is cinematography too
Two edits of identical footage can feel completely different depending on how long each shot stays on screen. Shot length is a creative choice, not a default.
Rough guidance that holds up
- Establishing wides can hold longer, roughly 3 to 5 seconds, because there is more for the eye to read
- Close-ups and detail shots work at 1 to 2 seconds, especially in fast content
- The opening shot should earn attention in under 2 seconds or you have already lost social viewers
- Vary the lengths. A run of clips that are all exactly the same duration feels mechanical, and audiences notice even when they cannot say why
Cut on motion where you can. If a subject starts a movement at the end of one clip and the next clip continues that energy, the cut disappears. Cuts that disappear feel professional. Cuts that announce themselves feel like a slideshow.
6. Sound does half the work
Watch any polished piece of video with the audio muted and it loses most of its impact. Sound is not decoration on top of a finished video, it is part of what makes the image feel real.
- Score with intent. Let the music tell you where the cuts go. Aligning shot changes to the beat is the cheapest way to make an edit feel deliberate, and beat-aligned cutting works especially well for music-driven and social content.
- Let dialogue and voiceover sit above the bed. If a viewer has to work to hear the words, the video has failed regardless of how it looks.
- Use silence. Dropping the music out for a beat before a reveal is a professional move that costs nothing.
- Match the energy curve. If your track builds, your visuals should escalate with it. Shots getting tighter and cuts getting faster into a chorus is a pattern that works because it mirrors how the music feels.
7. Frame for the format you are actually publishing to
A composition built for a wide 16:9 frame does not survive a crop to vertical. If the final destination is a phone, generate for the phone.
- Vertical: keep the subject centered, leave headroom, and remember the top and bottom of the frame are covered by platform interface elements
- Widescreen: you can use the edges of the frame and negative space, which is where a lot of cinematic composition lives
- Square: the most forgiving, and the weakest for drama, so lean harder on shot size variation
On-screen text has the same rule. Keep it large, keep it short, and keep it high contrast against whatever is behind it. Text that is unreadable in a noisy feed is text that does not exist.
8. Generate options, then choose
Everything above raises the odds of a strong shot. It does not guarantee one, because generation is variable by nature. The most reliable path to a cinematic result is to give yourself real choices and then edit like an editor.
Generate a second or third pass of your visuals, put them on separate tracks, and compare scene by scene. One pass will have the better opening. Another will have the stronger reveal. The final cut should be assembled from the best of all of them rather than accepted whole from any single pass. We covered that workflow in detail in The Secret to Perfect AI Videos.
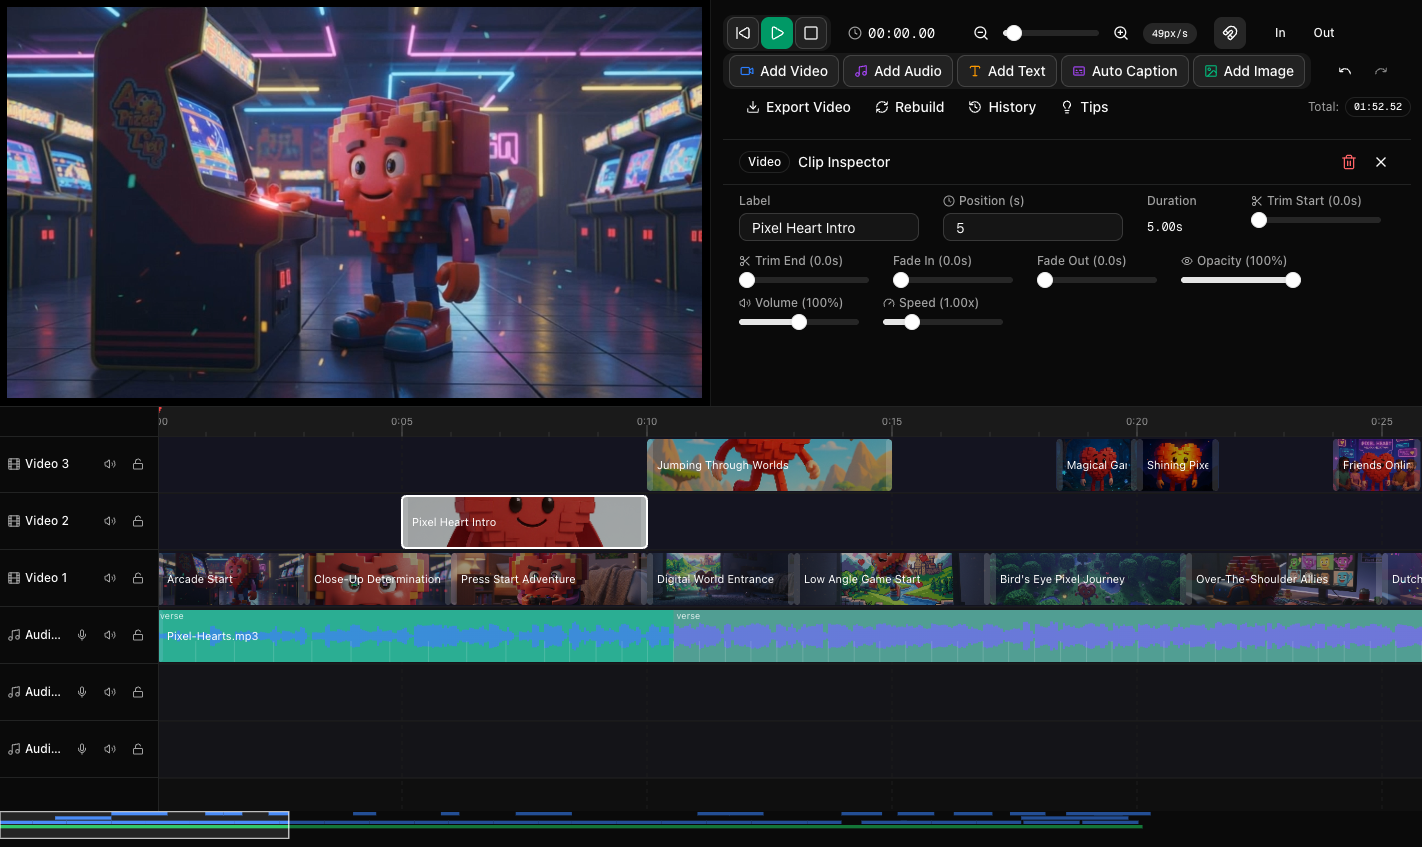
A quick pre-export checklist
- Does the first shot earn attention in under two seconds?
- Do shot sizes vary, or is everything the same distance from the subject?
- Does the light have a direction in every scene?
- Do the colors of scene one and scene ten belong to the same film?
- Does any character look like a different person between shots?
- Is at least one shot static, so the moving ones mean something?
- Do the cuts land with the music?
- Is every word of on-screen text readable at arm’s length on a phone?
- Is the voice clearly above the music bed?
- Is it framed for the platform it is actually going to?
If you can answer yes to eight of those ten, the video will read as cinematic to almost any viewer.
Direct it, do not just generate it
Cinematic is not a style preset. It is the accumulation of a lot of small, specific decisions: this shot size, this light direction, this length, this cut, this piece of music. AI can execute every one of those decisions quickly, but it cannot make them for you.
Write prompts like a director, keep your visual world consistent, cut with rhythm, and treat sound as half the job. That is the whole method.
Next, it is worth knowing what to avoid: see Common AI Video Mistakes and How to Fix Them. If you want a full end-to-end build, start with How to Make a Music Video with Trumbone.